
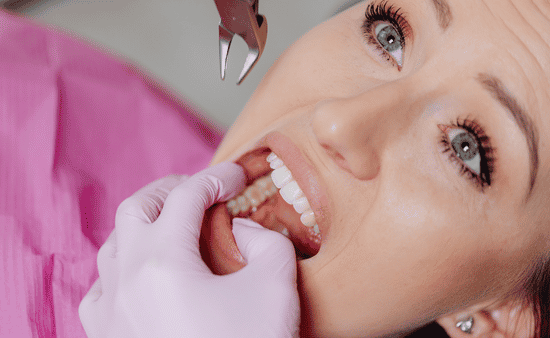
The third molars, commonly known as wisdom teeth, are the final set of teeth to develop and emerge in the mouth, usually appearing between the ages of 17 and 25. For many people, these teeth erupt without any issues and function normally alongside the other molars. However, due to limited space in the jaw, these late-arriving teeth often become problematic.
When they fail to erupt properly or become trapped beneath the gum line or jawbone, they are considered impacted, leading to a range of potential oral health issues. The decision to pursue removal is a common one, and understanding the entire process, from the first appointment to the final healing stages, can significantly reduce any apprehension about the procedure.
The Critical First Step: Initial Consultation and X-rays
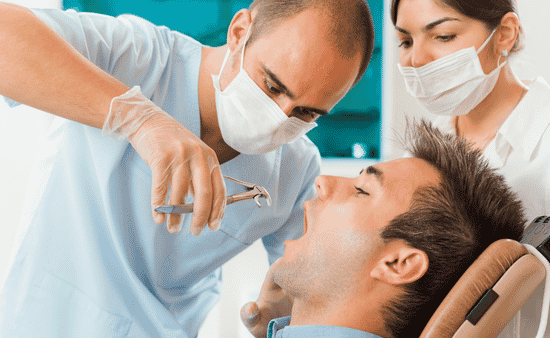
The journey toward a healthy, complete smile begins with a thorough evaluation by an oral health specialist. This initial visit is designed to assess the position of the wisdom teeth and determine the necessity and optimal timing for removal.
Comprehensive Oral Examination
During the consultation, the specialist will perform a detailed examination of your mouth, checking the alignment of your existing teeth, the condition of your gums, and looking for any visible signs of eruption or infection near the back of the jaw. They will discuss any current symptoms you might be experiencing, such as pain, swelling, or difficulty opening your mouth, which often signals a developing problem.
Diagnostic Imaging and Assessment
The most crucial element of the initial evaluation is diagnostic imaging, typically involving a panoramic X-ray or a 3D cone beam CT scan. These images provide a comprehensive view of the entire jaw structure, including the unerupted or impacted molars. The X-ray reveals the exact angle and position of each wisdom tooth, identifying whether it is growing horizontally, vertically, or at an angle.
Crucially, the images show the proximity of the tooth roots to vital structures, specifically the mandibular nerve and the sinus cavities, which dictates the complexity of the operation. This detailed visual information is essential for planning a safe and effective surgical approach.
Understanding the Need for Removal
The recommendation to extract wisdom teeth is usually based on preventing complications that can severely affect your long-term oral health. Removing these molars proactively often prevents more painful and complex issues later on.
Identifying Impaction and Angulation
Impacted teeth can cause pressure against adjacent molars, leading to damage, decay, or root absorption of healthy second molars. When a tooth is partially erupted, it creates a small flap of gum tissue that is difficult to clean.
This space is a prime location for bacteria to accumulate, resulting in recurring inflammation, swelling (pericoronitis), and serious infections that may spread to the throat or neck. Furthermore, impacted teeth can occasionally lead to the formation of cysts or tumors around the tooth sac, which can erode the surrounding bone structure and cause significant damage to the jaw.
Preventing Future Complications
Even wisdom teeth that appear healthy and are fully erupted may still require removal if they cannot be properly cleaned, increasing the risk of cavities and gum disease deep in the mouth.
Early removal, particularly for individuals in their late teens or early twenties, is often recommended because the roots are less developed, and the surrounding bone is softer, potentially leading to a simpler procedure and faster recovery.
The primary goal of a planned wisdom tooth extraction in Ogden is to ensure the preservation of overall dental alignment and health, mitigating the risk of painful and costly emergency procedures down the road.
Preparing for Your Procedure
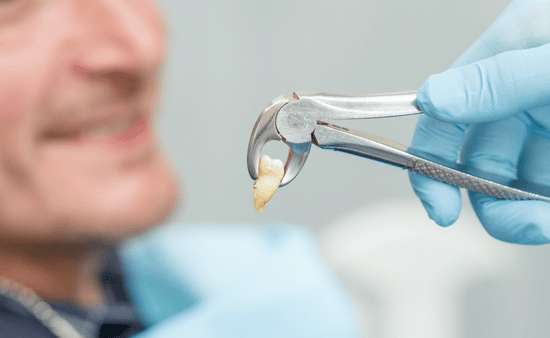
Once the decision for removal is confirmed, the oral surgeon will review a personalized treatment plan and provide detailed instructions to prepare you for the day of surgery.
Anesthesia Options
Patients typically have several options for anesthesia to ensure a comfortable and pain-free experience. These options include:
- Local Anesthesia: Numbing the surgical area while the patient remains awake.
- Sedation (IV Sedation): The most common choice, this twilight sedation puts the patient into a relaxed, semi-conscious state, where they are unaware of the procedure but can still respond to simple commands.
- General Anesthesia: Used for complex cases or high anxiety, this option renders the patient completely unconscious.
The choice of anesthesia depends on the complexity of the extraction, the number of teeth being removed, and the patient’s anxiety level. It is crucial to arrange for a responsible adult to drive you home after the procedure, regardless of the sedation method chosen, since even local anesthetic can leave you feeling disoriented.
Pre-Surgery Instructions
Specific guidelines must be followed in the hours leading up to the operation. Patients are usually instructed to fast, meaning they must abstain from eating or drinking for a set period before receiving sedation.
Detailed instructions regarding medications, including which ones to take and which ones to temporarily discontinue, will be provided. Preparing an accessible, comfortable recovery space at home beforehand simplifies the post-operative experience.
The Day of Surgery
On the day of the procedure, the surgical team will prioritize patient comfort and safety. The staff will confirm the treatment plan and administer the chosen anesthetic.
Surgical Process Overview
The removal process involves making an incision in the gum tissue to expose the tooth and underlying bone. If the tooth is impacted, a small amount of bone tissue may need to be carefully removed. The surgeon may divide the tooth into smaller sections to allow for easier and less traumatic removal.
Once the tooth is extracted, the surgical site is cleaned, and sutures are placed to promote clotting and healing. The length of the procedure depends on the difficulty of the extraction, but it typically takes less than an hour for all four molars.
Immediate Post-Procedure Care
Immediately following the surgery, gauze pads are placed over the extraction sites to control bleeding. You will rest briefly until the initial effects of the anesthesia wear off.
The surgical team will confirm that the bleeding is controlled and review the post-operative care instructions with the responsible adult who is taking you home. Swelling and mild discomfort are normal expectations that are managed through medication and cold compresses.
Navigating the Recovery Period
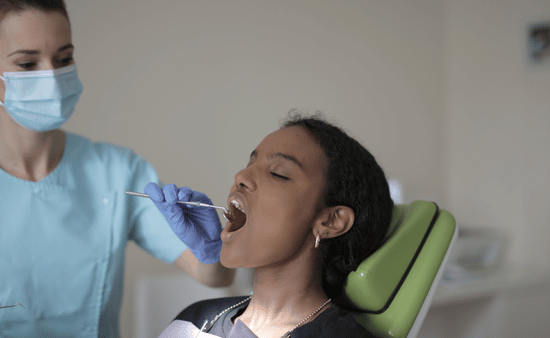
A successful outcome largely depends on diligent adherence to the post-operative care plan. The initial healing phase generally spans the first week, with full recovery taking longer.
Pain Management and Swelling Control
Prescribed pain medication should be taken as directed to manage discomfort. It is normal for swelling to peak about 48 to 72 hours after the procedure. Applying an ice pack to the cheeks during the first 24 hours helps to minimize swelling. After 24 hours, switching to moist heat can help reduce residual swelling.
Dietary and Oral Hygiene Adjustments
A soft or liquid diet is mandatory for the first few days. Foods like yogurt, applesauce, mashed potatoes, and blended soups are recommended as part of the best diet plan for recovery, but anything that requires chewing should be strictly avoided. Slowly, patients can transition back to semi-soft foods. Maintaining hygiene is crucial, but great care must be taken to protect the clot forming in the socket.
Patients must avoid spitting, rinsing vigorously, or using straws for several days, as the suction created can dislodge the blood clot and lead to dry socket. Gentle saltwater rinses, started 24 hours after surgery, help to keep the area clean.
Monitoring for Complications
While complications are rare, recognizing signs of dry socket or infection is important. Dry socket occurs when the protective blood clot is lost, exposing the bone and nerves, resulting in intense, throbbing pain that usually begins a few days after surgery. Signs of infection include persistent fever, worsening swelling after the third day, or pus around the surgical site.
Contacting the oral health professional immediately if these signs develop is essential for prompt treatment. Continued follow-up appointments allow the surgical team to monitor the healing process and ensure a healthy long-term result.